|
If you are anything like me (read: busy, stressed, and envious of all the crafty moms out there and on pinterest), you want to make your house adorable for every season, follow every trend, and do every craft- but you don't have the time, patience or money. There are few crafts that I actually commit to, and fewer still that I actually complete. Well my friends... I've found the craft for us! Not only was it affordable; it was simple, adorable, and you can LITERALLY use it year-round and for multiple holidays. BOOM.
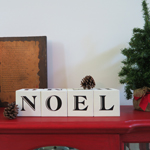
Check it out! I made this (very low-budget/instagram) video with the final result. Read on for info on supplies you need and how to make your own!
First, the damage:
-
Blocks. I already had mine from a past (never completed) project, but you can cut down a fence post at any local Lowes or Home Depot. The handy guys that work there will CUT IT FOR YOU. Life-hack. I recommend squares. Mine are 4 x 4" (x4x4x4...). 6 total.
-
Paint- I used chalk paint, but any paint will do, really. I also chose white because I wanted the project to be able to be used year-round. I played with many colors in my mind, but white seemed easiest.
-
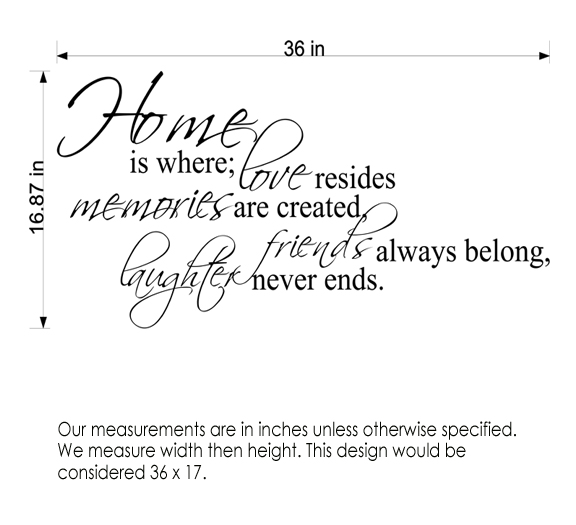
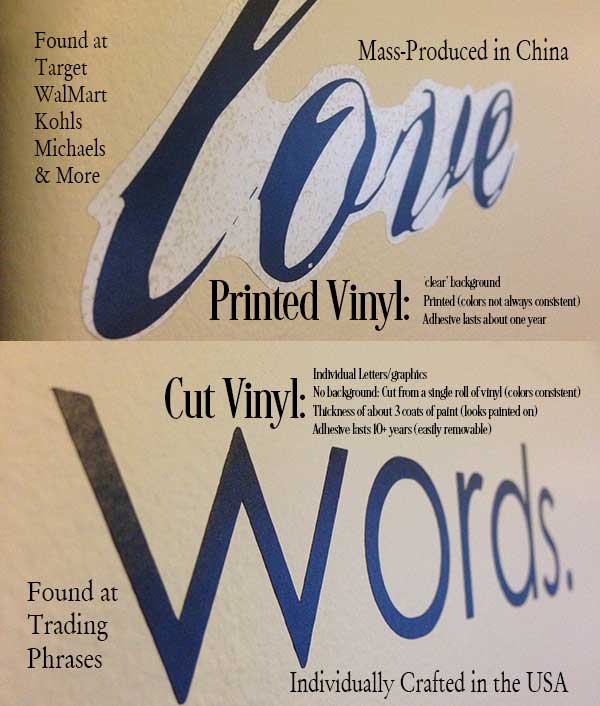
Decals- order here:
-
Paint Brush- I used foam
Now the Process:
To start with I laid out all of my materials on some paper and painted the blocks. I did a pretty sloppy job of it and even had my toddler help. I wanted to do a thin coat on each so I could see a bit of the wood grain show through. I envisioned a rustic masterpiece... and I'm okay with the results, knowing how little effort I actually put in. To get a REAL rustic/distressed block check out some of our pins in our Do It Yourself board on pinterest here.
When they had dried I arranged them 1-6 and mentally assigned numbers to each. Then, I applied decals to each one. You can check out my guide below for getting the word arrangement I did, or go it on your own to make your own combinations.
-
B Y N E (heart) (bunny)
-
H L R C (stars) (pumpkin)
-
A I E U O K
-
M O T I P (shamrock)
-
A S H J B K
-
G V S M F R
That is it. Literally. TWO STEPS and you are done. Now, you could probably seal them or finish them with a type of lacquer or mod-podge, but I didn't deem that necessary. I probably spent more time making word combinations and creating that instagram video than in adding all of the decals!
|
