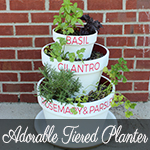
Have you seen our Tiered Halloween Planter? Maybe our Tiered House Number Planter? Well... it is obvious that we can't leave well enough alone, and we love the look of this planter. This year I decided to mix it up one more time and make it both beautiful and functional. Flowers are great, but my herb box was a little sad, and I thought this could be the perfect solution! Follow along to see the transformation!
Now:
I don't know about you, but I am the type of person who re-arranges furniture on a whim, who paints the same room different colors every few years, and who is only happy with a project for a few months before I start wondering what to do next. Crazy, right?
Well, as you can see this planter project has been through a few of my tizzies. I use the same pots from the first round, but for those of you just jumping on the crazy wagon I'll list all my supplies and steps below.
You'll Need:
-
Terracotta Pots (diameters 14.5, 12 and 8.25) and a large dish for the bottom
-
Potting Soil
-
Plants
-
Paintbrush (if not using spray paint)
-
Paint (I used some different cans of paint, but you can also spray)
-
Bottles/cans
-
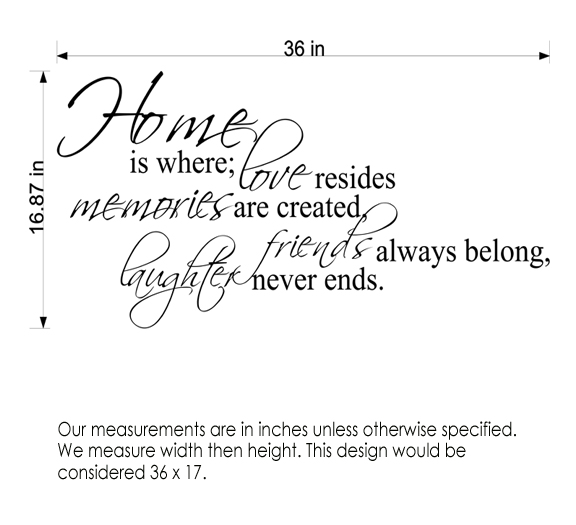
Decals- I used these.
Step 1:
Your first step is to clean the pots. I simply used water and a paper towel. If you are fully removing a layer of paint from yours to start... good luck! I know I'll likely be painting on something new next year, so I wasn't too worried about it. :)
Paint the pots. I let the kids take a stab at the first coat and kept my OCD at bay- it is nice to include them and they have SO much fun with a paintbrush. Just make sure any large slaps of paint get a once over from you before they dry in drips.
Paint the inside rim of your pot- this is optional! I had a few random paints laying around so I combined them to make a pretty pink/red and painted the interior of the pot this color. I appreciate the little pop of color, but you might skip this step.
Apply your decal labels! I chose a color that matched my inner rim of the pots, but there are over 65 choices- so whatever works for your decor. I cut apart the decals and applied them to the pots. I chose basil on top because I feel like it grows the tallest (maybe I'm wrong), and put the others where I thought the words fit best.
Stack and plant! For the stacking bit I've learned a few tricks I'll pass along to you. 1. fill the bottom of your big pots with empty water bottles, soda cans, etc. This way you'll end up using less soil, have a solid base for stacking, and the soil will be less dense overall. This is really handy if you are going to move these heavy pots around. 2. Stack the pots all at the back of the planter so all of your planting room is larger in the front... in other words don't stack directly on top of each other, but push the pots all the way to the back of the rim of the pot they are nesting in.
Voila!
I can't wait to make some tasty summer meals with these yummy herbs!
What do you think? If you make it will you share photos here or on our facebook page so we can see?
|