Cart is empty

- Home
-
Custom Decals
-
Decor Ideas
- Popular & Trending
- Gold Dots Add Glam
- Classroom Decal Ideas
- Chevron Tutorial
- Easy Accent Wall Update
- Baseball Stitches Room Update
- Amazing Staircase Before/After
- Easy Exercise Room Updates
- Decorating a Boy's Room
- Designer Accent Wall
- Decal as a Headboard
- Stairway Makeover
- Put His Word on Your Wall
- Dorms & Decals
- Halloween Top 5 Looks
- Update Mirrored Closet Doors
- Video: Christian Wall Decals
- Video: Nursery Inspiration
- Video: Laundry Decals
- Video: Kids Room Decals
-

- As Seen In
- As Seen On HGTV
- 2012 Parade of Homes Feature
-
- Recent Facebook Posts
-
- Instagram Photos 2016
- Instagram Photos 2015
- Instagram Photos 2013-2014
-
- Top Pinterest Boards
-
- Naturally Inspired
- Video: Trees Decals Slideshow
- Vintage Look: Wedding Prints
- The Cat's Meow
-
- Wedding Inspiration
- Wedding DIY Decals
-
Decal 101
- Creating a Custom Design
- Design Your Own Decal
- Custom Quote Request
- Favorite Fonts
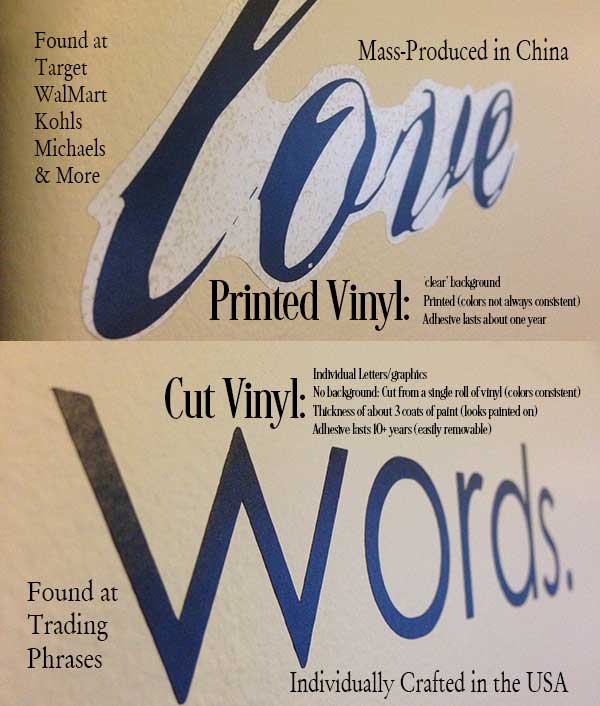
- Decal Colors
- Full Color Printed Decals
- Free Online Design Session
- Request a Design Change
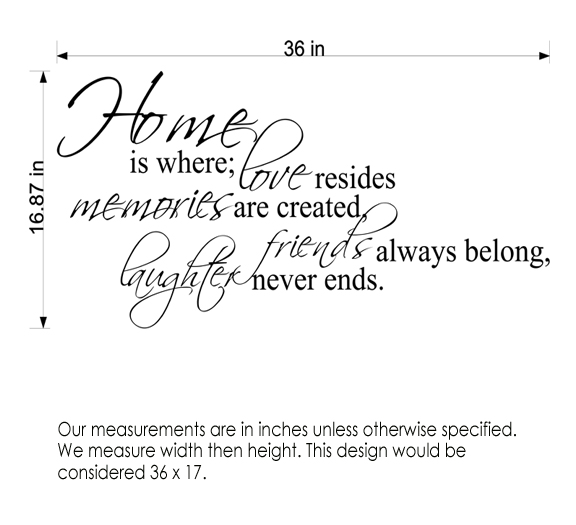
- Measure for an Arch Decal
-
- Videos About Decals
- Video: How to Installing Decals
- Video: We're on TV!
- Video: Install a Giant Decal
- Video: Photo Collage WallPaper
- Video: Decals on Glass/Mirrors
- Video: Customer Videos
- Video: Christian Wall Decals
-
-
Our Blog
-
Gift Ideas
-
Crafts & DIY Projects
-
Trending & Hot
-
Shop by Room
- Kitchen & Dining
- Outspoken Appliances
- Wine & Food
- Designs for Etching Glass
- Video: Kitchen Decals Photos
-
- Laundry & Craft Room
- Video: Laundry Decals
-
- Office, Study, or Den
- Business & Commercial
- Classrooms & Schools
-
- Nursery
- Names & Monogram Decals
- Trees & Branches
- Video: Nursery Decals Inspiration
- Video: Trees Photos Slideshow
-
Decal Collections
- Monograms & Custom
-
Off the Wall
-
Business/Commercial
-
- Coffee Shop & Cafe
-
- Business & Office Signage
-
- Word Walls
- Blog: Word Walls=Big Impact
-
- Education & Classrooms
- Gifts: Thumbprint Thank You
- Blog: Classroom Art Tree
- Blog: Classroom Decal Ideas
- Blog: Decals on Cinderblock
-
- Business Signage
- Fuse Cardinal Health
- Blog: Put Your Walls to Work
-
- Offices & Teams
- Best Seller: Teamwork Decal
- Gyms & Fitness
- Best Seller: Gym Word Wall
-
- Salon & Spa
-
-
Printed / Art

Blogs & News
Videos
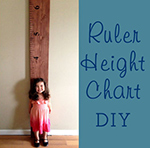
Easy DIY Pottery Barn Style Ruler Height Chart
Category: Crafts
Author Name: Samantha Vargo
Posted: 04-10-2013 06:24 PM
Views: 25061
Synopsis:
Author Name: Samantha Vargo
Posted: 04-10-2013 06:24 PM
Views: 25061
Synopsis:
Do you need a height chart that you can take with you when you move.. or do you simply want a fabulous, artistic conversational piece to decorate your home? We've made this fabulous DIY Project that rolls both into one- and all for less than a tank of gas (in a Honda Civic)!
About the Author
|


Comments on Easy DIY Pottery Barn Style Ruler Height Chart


Copyright © 2008-2024 Trading Phrases
Scroll Down To Load More